 |
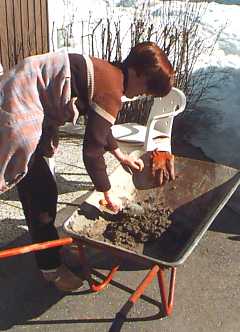
Carina
is mixing the ingredients in a wheelbarrel. The recipe we used was:
|
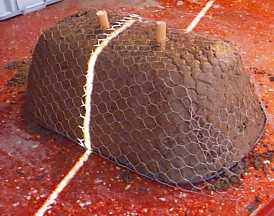 |
Here is the
first planter we made. The hypertufa was applied to the outside of a plastic
baby bathtub. On the bottom, we placed two wooden plugs - both to get drainage
holes, and to geat a measurement of how much hypertufa we had applied.
After the first layer of hypertufa, we put on a reinforcement layer of "chicken net". |
 |
All the hypertufa is now applied. We then covered the planter with peat, hoping that some of it would stay on and give the planter a more "rustic" appearance. Maybe it will make it easier to grow moss on the planter, too...? |
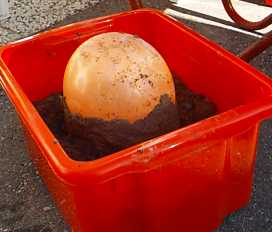 |
When we had our coffee break, creativity started flowing... We wanted to make hypertufa balls! We used a balloon as the base, and placed it in a bed of peat to give it some support. Then we started building up a layer of hypertufa. To prevent mudslides on the slippery balloon, we applied thin layers of hypertufa, starting from the bottom. We also had to let the balloon rest every once in a while. |
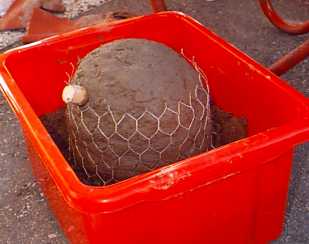 |
Like with the big planter, some "chicken net" was applied as reinforcement when we were half way. Carefully, so the balloon wouldn't pop... A plug for drainage was also inserted. |
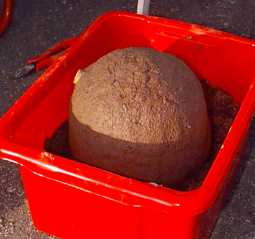 |
This is what it looked like when all the hypertufa was applied. Now we just have to wait for it to dry, and then plant some thyme in it and place it on the lawn! |